
We’re glad to have you! Setting up GrooveJar is wicked easy (yes, it’s true, Bostonians do say wicked).
And we’re not exaggerating when we say “you’re just a few clicks away” – because you really are. So, let’s get clicking, there are only 2 steps you need to take.
1) Download the App from Shopify
The first step is to install the application via your Shopify dashboard (NO CODING is required). You can search for GrooveJar under Apps, or just head here to the Shopify listing. If you’re already up and running with us, you can skip down to designing and customizing your first GrooveJar App.
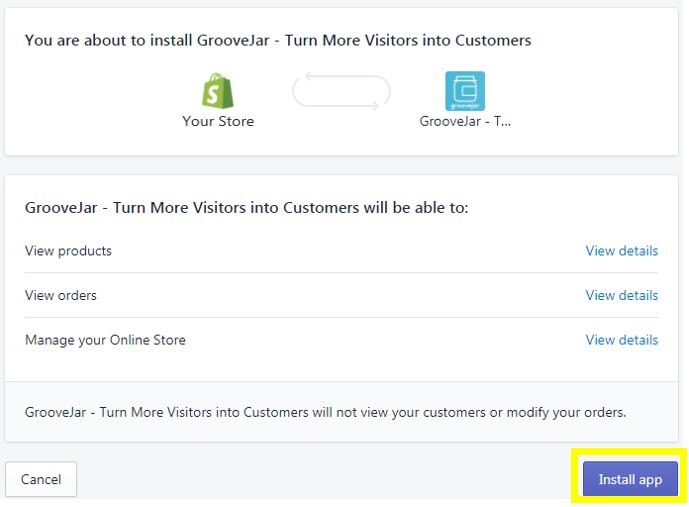
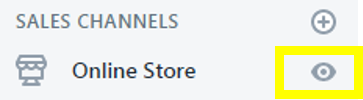
That’s the first step and you’re 75% done. Head to your online store and see. You’ll notice that GrooveJar is automatically installed – so the next step is designing your GrooveJar popups and banners.
2. Designing and Customizing Your First GrooveJar App
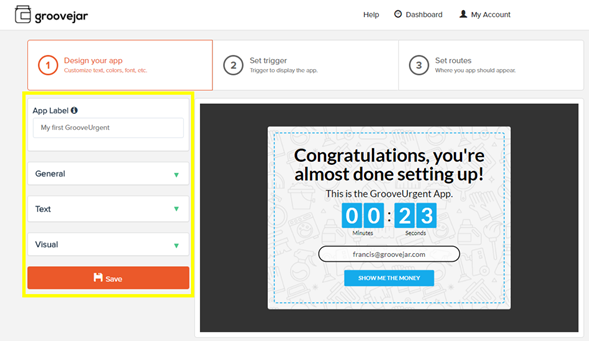
Head to your GrooveJar dashboard and you’ll be able to see that the first app by GrooveJar is “active” and live. It’ll be labeled “My first GrooveUrgent”.
GrooveUrgent is one of our most popular and effective apps, using a timer to encourage visitors to take action.
From here you’ll want to customize the app to make it your own by clicking on the little pencil icon.

(Hint: you can easily activate/reactive apps by using the toggle on the right.)
You’ll now be at the screen below. This is where you truly make it your brand. Using the menu to the left, you’ll be able to change the name of the app, the color scheme, the coupon code, what you want it to say, and how long you’d like the timer to run to create urgency. You’ll be able to see all changes in real-time.
Hit save when you’re finished. It’s just that simple.
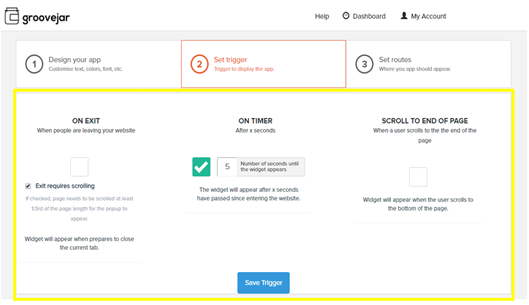
After designing the app, set up how the app will be triggered on your website based on time or user behavior. You’ll be able to select how the app should behave on your site based on the user’s behavior, such as exiting, scrolling, or time spent.
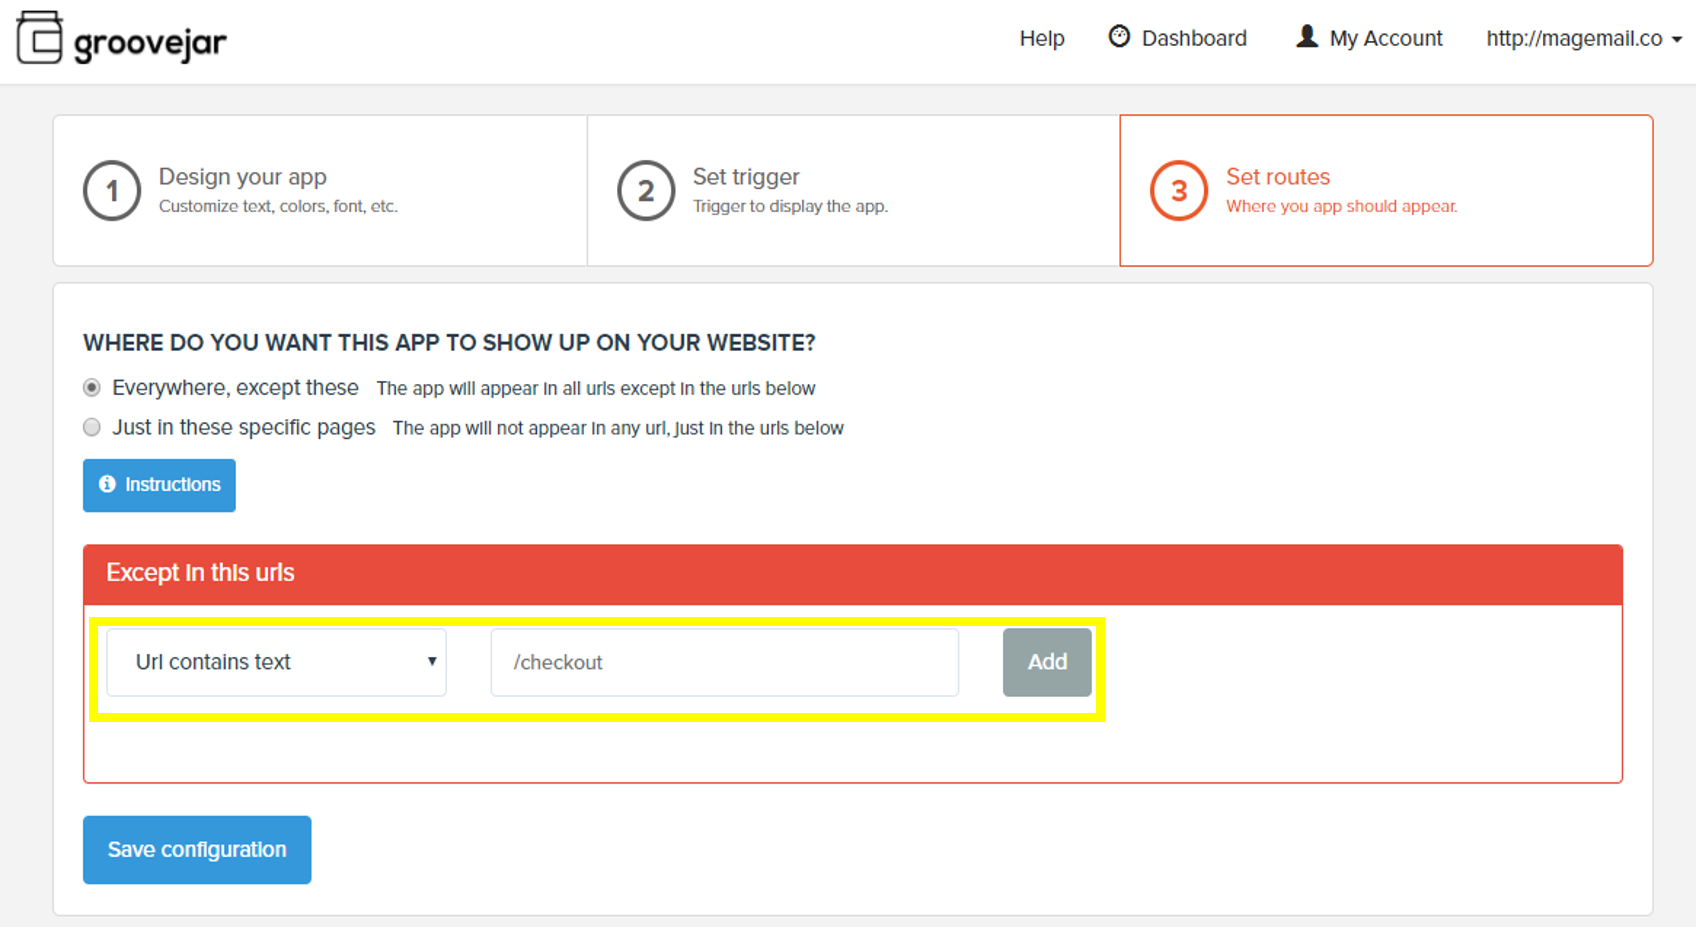
After making your selection on when you want the app to pop up, you’ll decide what pages on your site you’d like it to appear. You have the option of selecting individual pages by URL, or even having it capable of popping up on all pages, but just excluding URLs that contain certain words/text.
In the example below – we are selecting to have the app pop up on all web pages except for URLs with the word “checkout”. This is a good practice because if your visitor is already in the process of checking out, they’re most likely already going to buy – you’ll be capturing their information that way already without any incentive/discount. Not to mention, it’s a bad experience.
Hit “Save configuration” and you’re done! This would be the same process if you decide to run other apps from GrooveJar. (Rinse and repeat, just like how you shampoo and condition your hair).
Then, head on over to your website and you’ll be able to see it all in action. You can also just set it and forget it – GrooveJar is completely maintenance free after setting it up. You’ll be able to log onto the Dashboard and see the results. In our next post, we’ll teach you about the Collect & Convert feature.
Still have questions? Need us to give you a hand? Give us a shout via Email, Facebook, Twitter or chat with us on our website.
No comment yet, add your voice below!